Can You Clean a Cat’s Ears With Water? Safer Options

Can I clean my cat’s ears with water?
Plain water isn’t a good choice for cleaning a cat’s ears. It doesn’t break down wax well, can leave the ear canal damp, and trapped moisture may irritate the skin or encourage infections—especially if your cat already has inflammation or discharge. Cats also tend to dislike the sensation, which can turn a simple grooming task into a struggle. To learn the best methods to clean a cat’s ears, including how to clean a cat’s ears safely, keep reading about how to clean a cat’s ears effectively.
What to use instead
If your cat’s ears look mildly dirty (a little wax or debris near the opening) and your cat seems comfortable, use a cat-safe ear cleaner recommended by your veterinarian or labeled for cats. These solutions are designed to loosen wax and evaporate appropriately, reducing the chance of lingering moisture.
How to clean safely (quick steps)
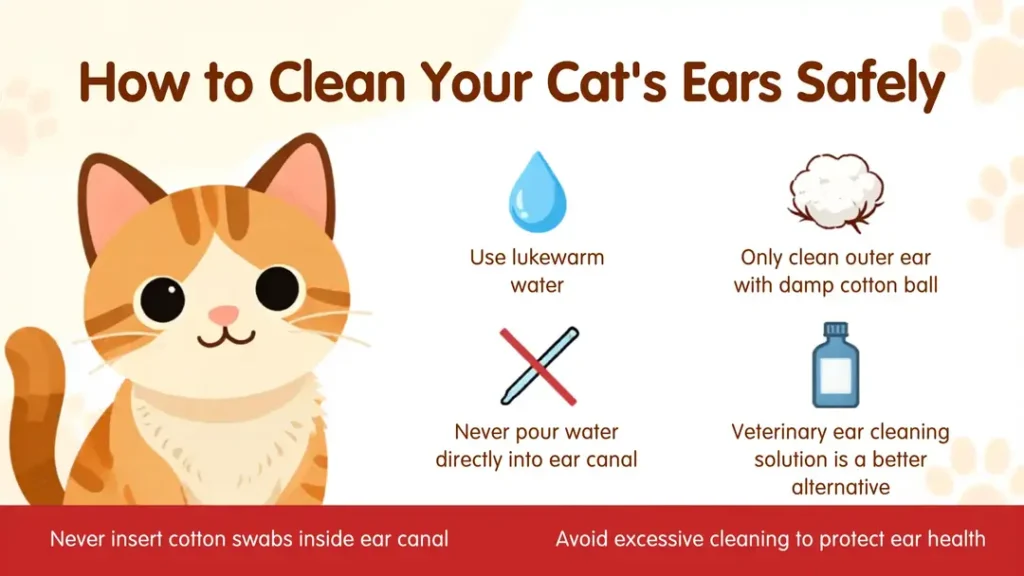
Start by checking the ear flap and the visible entrance of the ear canal. If you see only light wax, add a few drops of ear cleaner (per label directions), gently massage the base of the ear for 20–30 seconds, then let your cat shake its head. Wipe away loosened debris from the ear flap and the outer opening using gauze or a cotton pad. Avoid inserting anything into the ear canal; cotton swabs can push debris deeper or cause injury.
When water (or any cleaning) should be skipped
Skip at-home ear cleaning if you notice a strong odor, redness, swelling, pain when touched, head shaking, scratching, crusting, bleeding, or dark “coffee ground” debris (often linked to ear mites). Also, pause if there’s pus-like discharge or your cat won’t tolerate handling. Those signs call for a veterinary exam and the right medication, not more cleaning.
More detailed guidance
For a step-by-step walkthrough, what products to choose, and clear “do not clean” warning signs, visit this complete guide to cleaning your cat’s ears safely. You will find valuable tips on how to clean a cat’s ears effectively.
FAQ
How often should I clean my cat’s ears?
Most cats don’t need routine ear cleaning. Only clean when you see mild buildup, and if your cat gets frequent wax or ear issues, ask your vet for a schedule based on the cause.










Leave a comment