Teach Pets to “Talk”: Recordable Button Training Guide
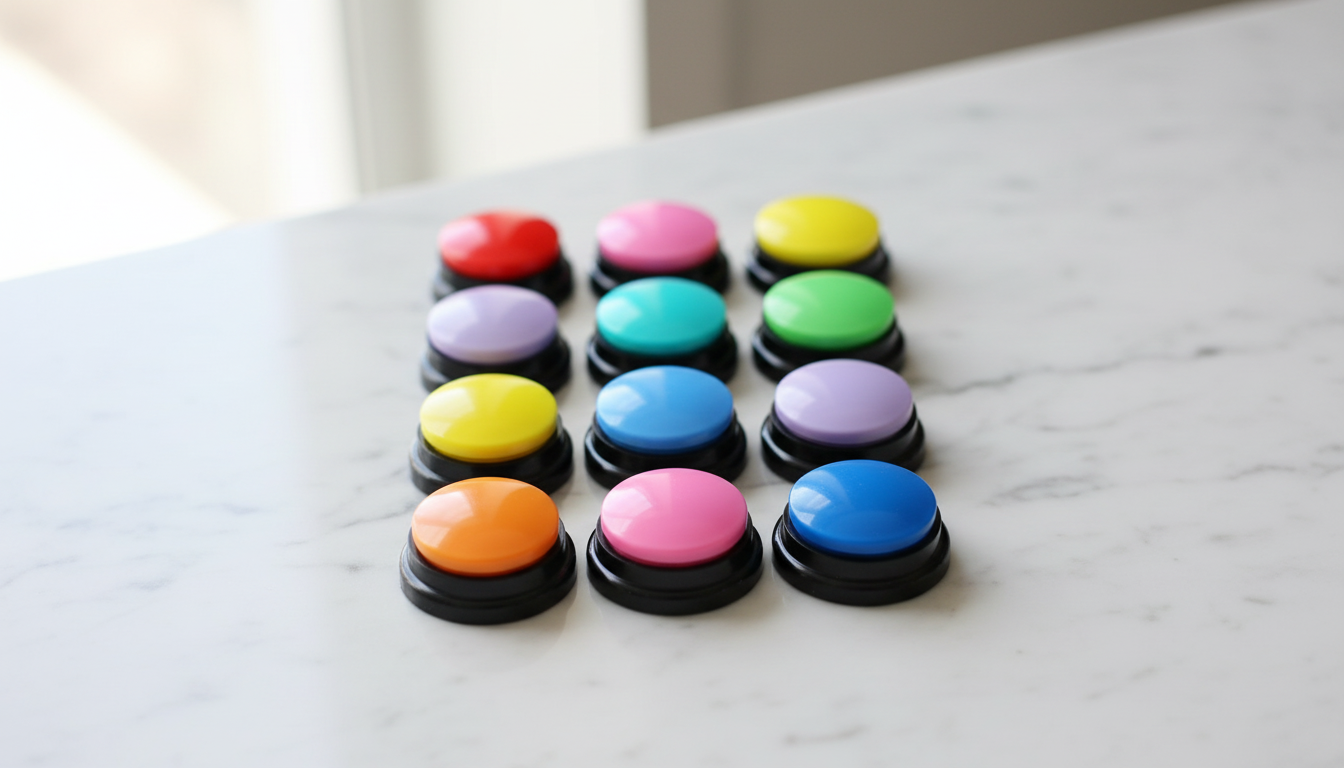
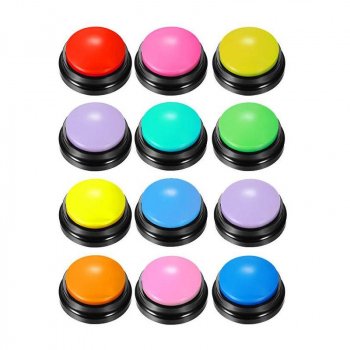
Recordable Talking Buttons for Pet Training and Communication
Recordable talking buttons can turn everyday needs—outside, play, water, cuddle—into clear, consistent signals. With the right setup and a simple training plan, many dogs (and some cats) learn to press a button to “say” what they want, reducing guessing and helping build calmer routines.
What These Buttons Do (and What They Don’t)
At their core, recordable talking buttons play back a short word or phrase when your pet presses them. That recorded sound becomes a repeatable cue—one that your pet can learn to use as an alternative to barking, pawing, pacing, or staring when they want something.
- They replay a short recorded label when pressed, creating a consistent sound cue.
- They can support basic requests (potty, food, water), activities (walk, play), and social interaction (help, cuddle).
- They work best with consistent “modeling”: you press the button while immediately doing the related action.
- They’re not mind-reading devices—early wins usually look like reliable single-button requests, not complex “sentences.”
- They’re especially useful for homes aiming to reduce frustration behaviors by teaching a clear, rewarded alternative.
For best results, stick with reward-based training principles recommended by trusted animal welfare organizations such as AVSAB and the RSPCA.
Key Features to Look For Before Buying
Not all buttons feel the same to a pet. A few practical features can make the difference between a button your dog uses confidently and one they avoid.
- Recording clarity: Playback should be loud and crisp enough to cut through normal household noise.
- Button size and press force: Wide surfaces work well for paws and noses; avoid buttons that are so stiff smaller pets give up.
- Durability: Look for housings that can handle repeated presses, drool, and the occasional knock.
- Stable placement: Non-slip bases, mats, or Velcro-style solutions help prevent sliding that can frustrate new learners.
- Simple re-recording: Quick updates let you refine labels over time (for example, from “outside” to “potty”).
- Power: Common batteries and an easy-to-open battery compartment make upkeep painless.
Quick Setup Checklist
Before training begins, a few small setup choices can prevent confusion later.
- Choose 2–4 starter words tied to actions your pet already loves or needs daily (such as “outside,” “play,” “water,” “all done”).
- Record short labels (1–2 words) with consistent tone and volume.
- Assign each button a logical, consistent location (door for “outside,” toy bin for “play”).
- Use a non-slip setup so your pet’s first attempts feel controlled and successful.
- Set household rules: everyone uses the same label and follows through the same way.
A Simple 14-Day Training Plan
Progress depends on motivation, consistency, and how quickly the outcome happens after the press. Many pets learn best when buttons are integrated into normal life rather than drilled in long sessions.
Days 1–3: Model only
Press the button immediately before the action. For example, press “outside,” then open the door. Avoid asking your pet to press yet—just make the connection between sound and outcome.
Days 4–7: Add gentle prompting
Start pausing briefly before you do the action, giving your pet a chance to try. If they make an attempt (even imperfectly), help them succeed and deliver the requested activity quickly.
Days 8–10: Shape intentional presses
Watch for clear, purposeful presses (paw down with intent, nose push, etc.). Reinforce those by immediately giving the outcome. If the press looks accidental, simply reset without a reward.
Days 11–14: Expand carefully
Add one new word at a time. Keep the button layout stable so your pet isn’t forced to “relearn the map” while also learning new labels.
| Button label | Best location | When to model it | Common upgrade later |
|---|---|---|---|
| Outside | By the door | Before opening the door for potty/outdoor time | Potty / Yard |
| Play | Near toy storage | Before starting tug/fetch or handing a toy | Fetch / Tug |
| Water | Near water bowl | Before refilling or walking to the bowl | Refill |
| All done | Near training area | At the end of play/training to signal closure | Break / Rest |
Common Problems and Easy Fixes
Who This Works Best For
Product Spotlight: Recordable Talking Buttons for Pet Training and Communication
If you’re ready to build a simple, repeatable communication routine, Recordable Talking Buttons for Pet Training and Communication offer a practical starting point. Begin with a small vocabulary (2–4 words), keep placements consistent, and expand only after your pet shows reliable, intentional presses.
To make progress easier to notice, pair button training with a quick tracking habit (what was pressed, when, and what happened next). For health-focused routines alongside training, Healthy Paws, Happy Life | AI Pet Weight Tracking Guide for Smart Pet Owners can help you log patterns consistently. And if you’re building better “outside” routines, a comfortable transport option like the Cozy Travel Pet Carrier can support calmer transitions for pets who get overwhelmed on the go.
FAQ
How many buttons should a pet start with?
Start with 2–4 buttons tied to high-value, easy-to-deliver outcomes (like outside, play, or water). Once your pet uses those consistently for several days, add one new word at a time.
Do talking buttons work for cats?
They can work for some cats, especially those motivated by food or play. Keep sessions short, choose easy-to-press buttons, and model the button press consistently before the outcome.
What should be recorded on the buttons?
Use clear 1–2 word labels that map to a single action (such as “outside” or “play”). Keep the recordings consistent across household members and avoid vague phrases that can lead to confusion.


Leave a comment